How to Culture Buttermilk:
Printable Recipe
INGREDIENTS:
1/2 Pint Buttermilk (from the store - make sure it has active cultures) or 1 cup buttermilk from a previous batch
3 Cups milk (any % is fine)
Clean glass jar
 |
| No you don't need a Bosch mixer to do this...oops... |
DIRECTIONS:
Step 1: Pour buttermilk with active cultures in clean canning jar. Make sure the buttermilk either has active cultures (it should say on the carton), is fresh, or from a batch that you've cultured from within the last week.
Step 2: Fill up the rest of the glass container with milk.
Step 3: Put the lid on the jar and shake well.
 |
| Yes, I usually shake mine over the sink...just in case... |
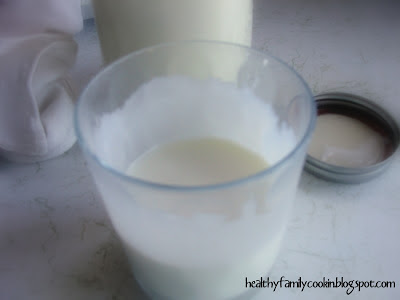
Step 5: Test buttermilk to see if it's ready by pouring into a glass. When ready, buttermilk will have thickened some and will coat the sides of the glass. Smell it. It should smell heavenly, not sour. If it smells sour, chances are you've forgotten it on the counter and it got a little too "ripe". It will still be good, but chances are you won't be able to use it to culture your next batch. When you get the time ratio just right you should be able to propagate the stuff for quite a while. If it starts going a little too sour, just buy another 1/2 pint and start over. Easy and frugal.
The cost savings? Well as a rule, milk is cheaper than buttermilk. It should make sense then that if you use only 1/4 buttermilk and 3/4 milk and come out with a quart of buttermilk, that would be cheaper than buying a quart of buttermilk outright. Especially when you consider that you can then use that buttermilk to make more buttermilk and...the cycle can continue indefinitely. It's a wonderful thing and a frugal thing.
Have you ever tried culturing your own buttermilk? What's worked for you? Happy Frugal Friday. Have a great weekend.
This week I'll be linking to some of these link parties.


0 comments:
Post a Comment